Add, Delete, Duplicate Keyframes
Duration: 02:23
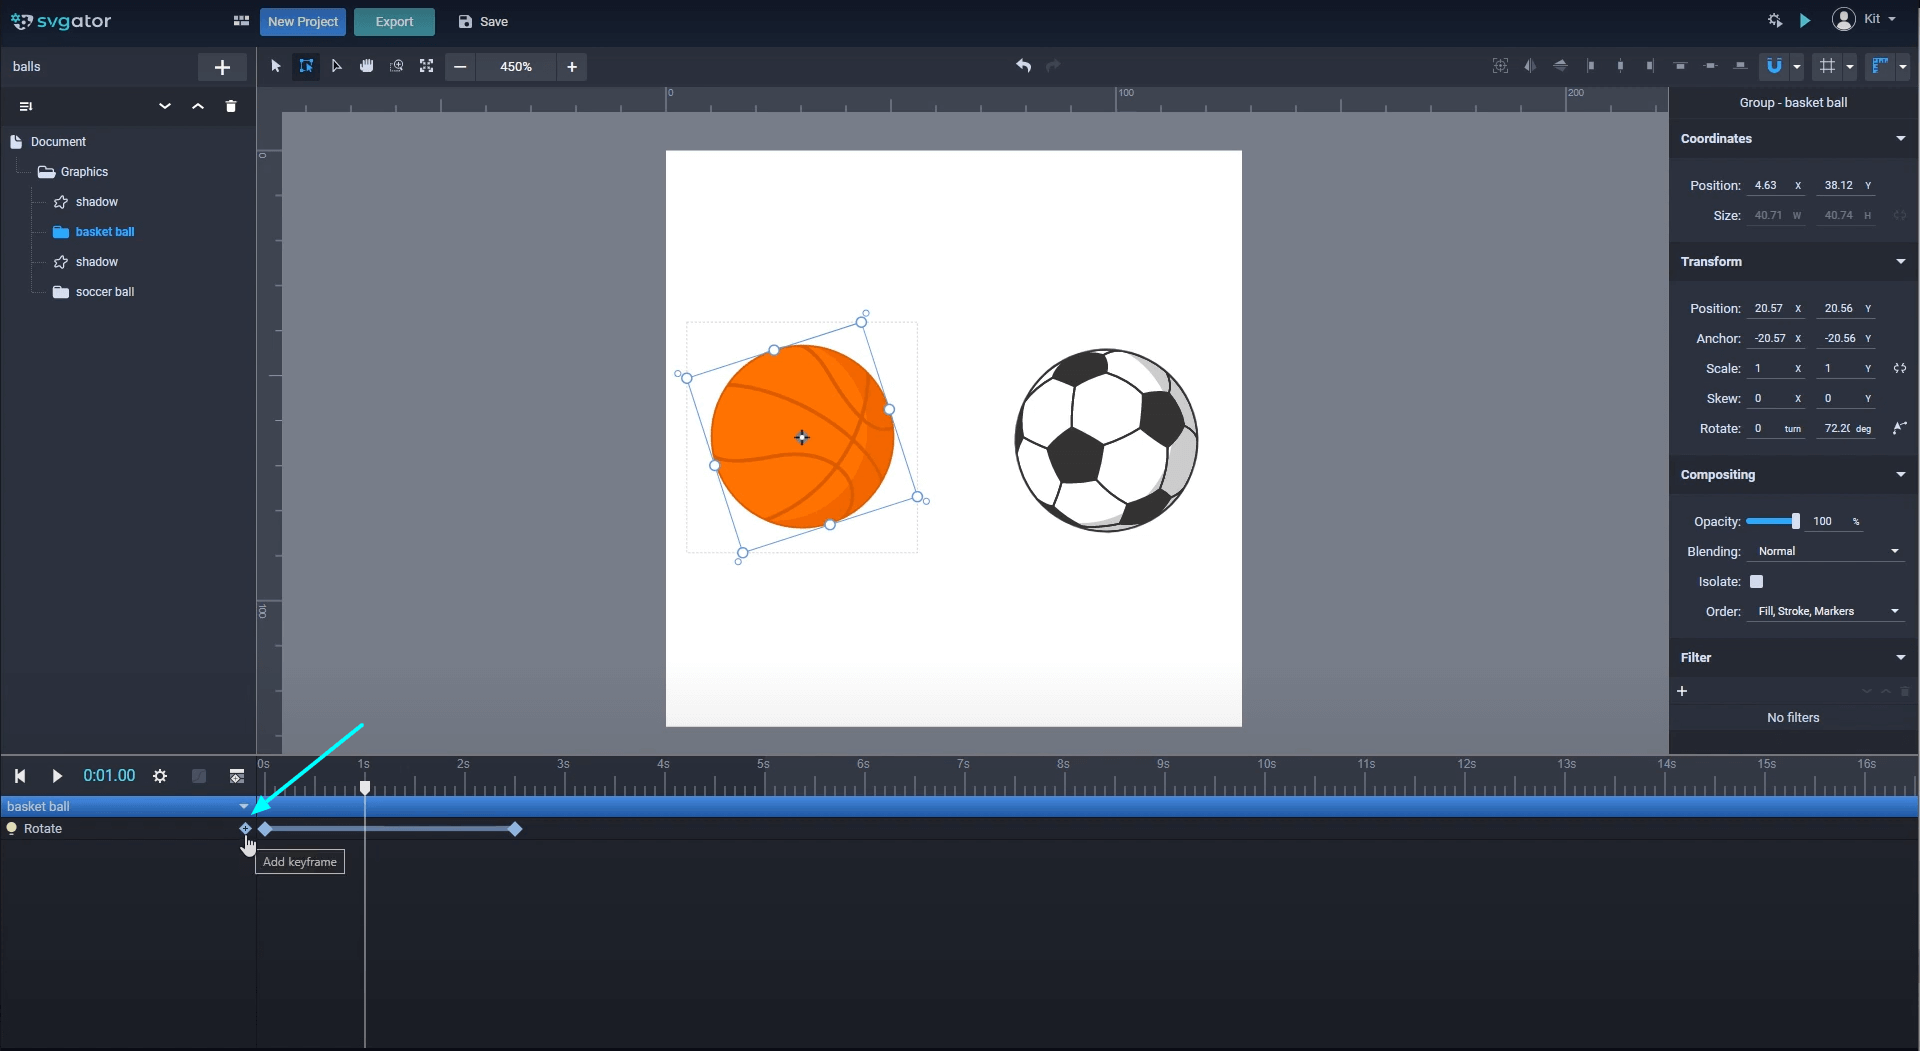
Keyframes are used to define the starting and ending points of an action. In SVGator's online animation software, the first keyframe will be added along the animator right where the playhead is positioned on the timeline. By dragging the playhead on a different second and then rotating the element at a different angle, another keyframe will be automatically added to mark the end of this rotate transition.
You can also add keyframes by clicking the Add keyframe button here or using the ALT +F keys on your keyboard and apply the transform after.
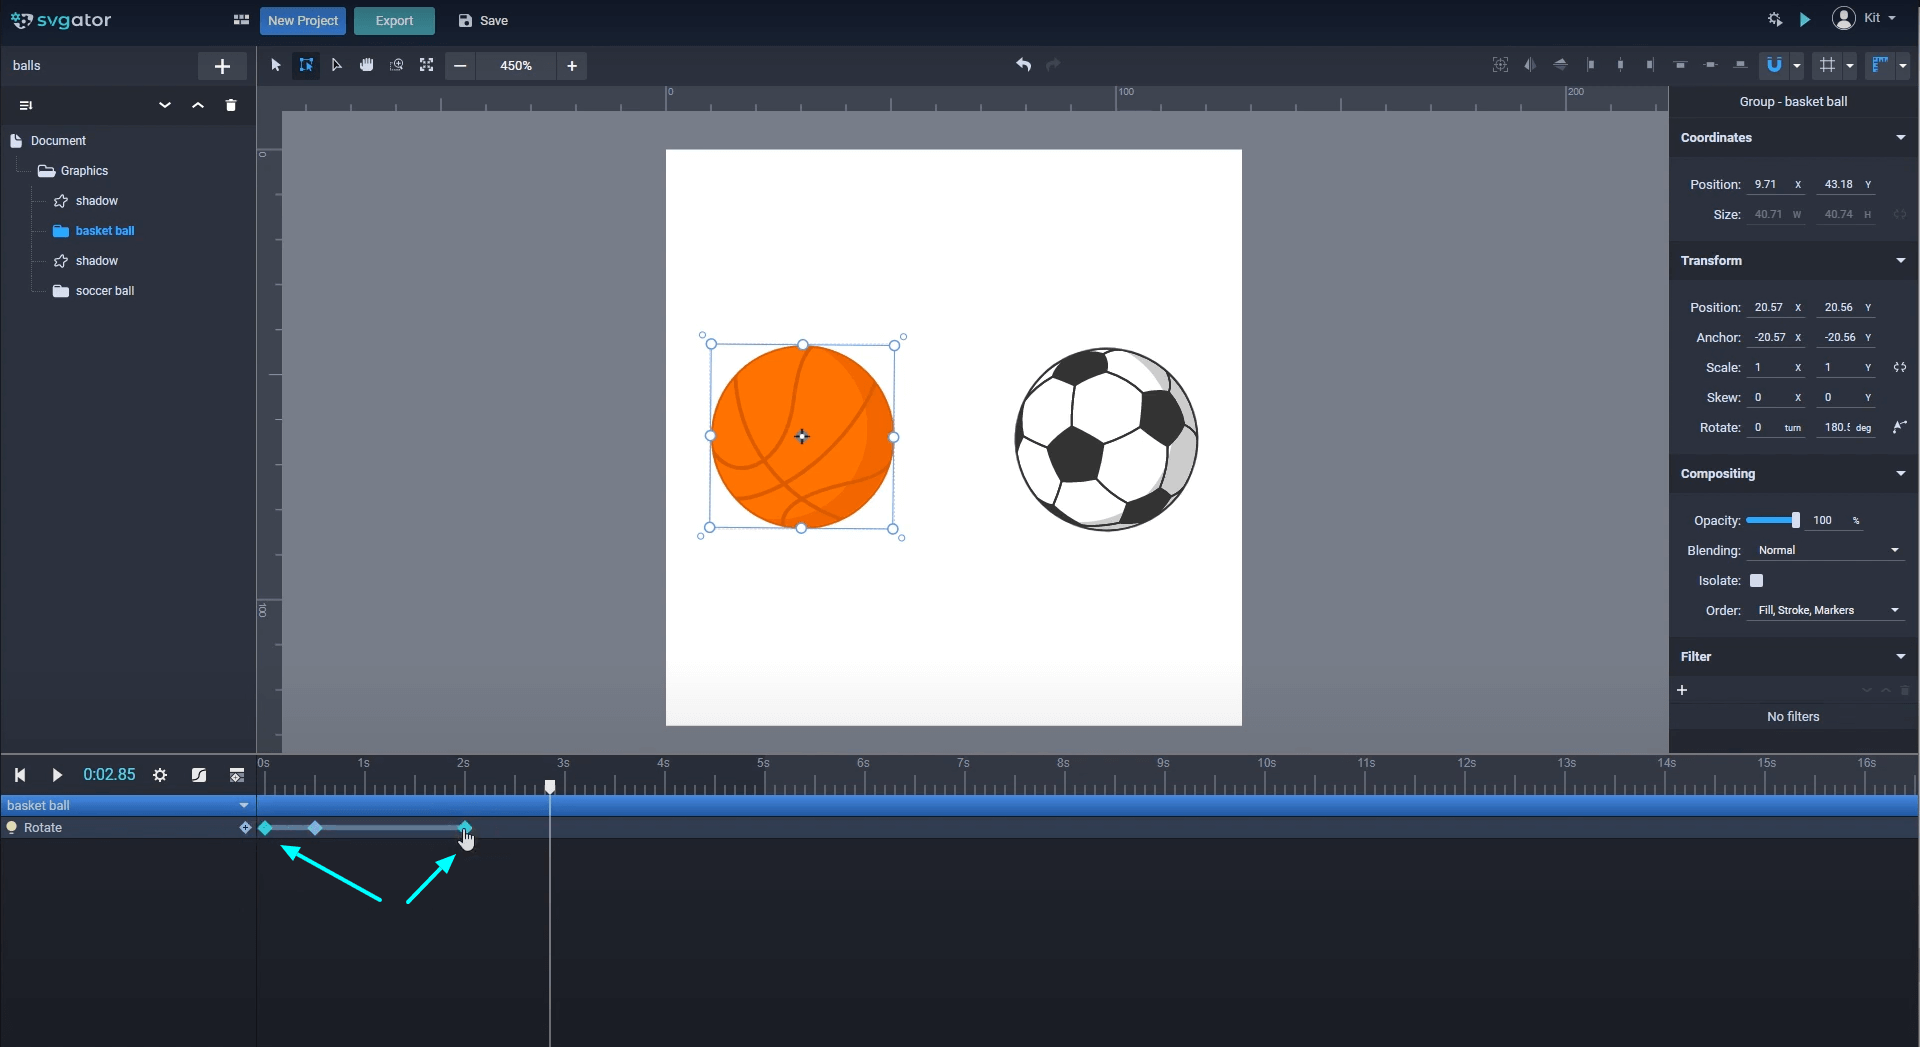
You can control the timing by dragging the keyframes along the timeline. Select all the keyframes in one row at once by clicking on the animator or select only a few with Drag select.
By dragging the segment between two keyframes, you can move them at once. Also, a multiple selection can be made by clicking the keyframes one by one while holding down the Control or Command key.
If you hold down the shift key you can drag the playhead and the keyframes smoothly along the timeline and even place keyframes between the timeline markers.
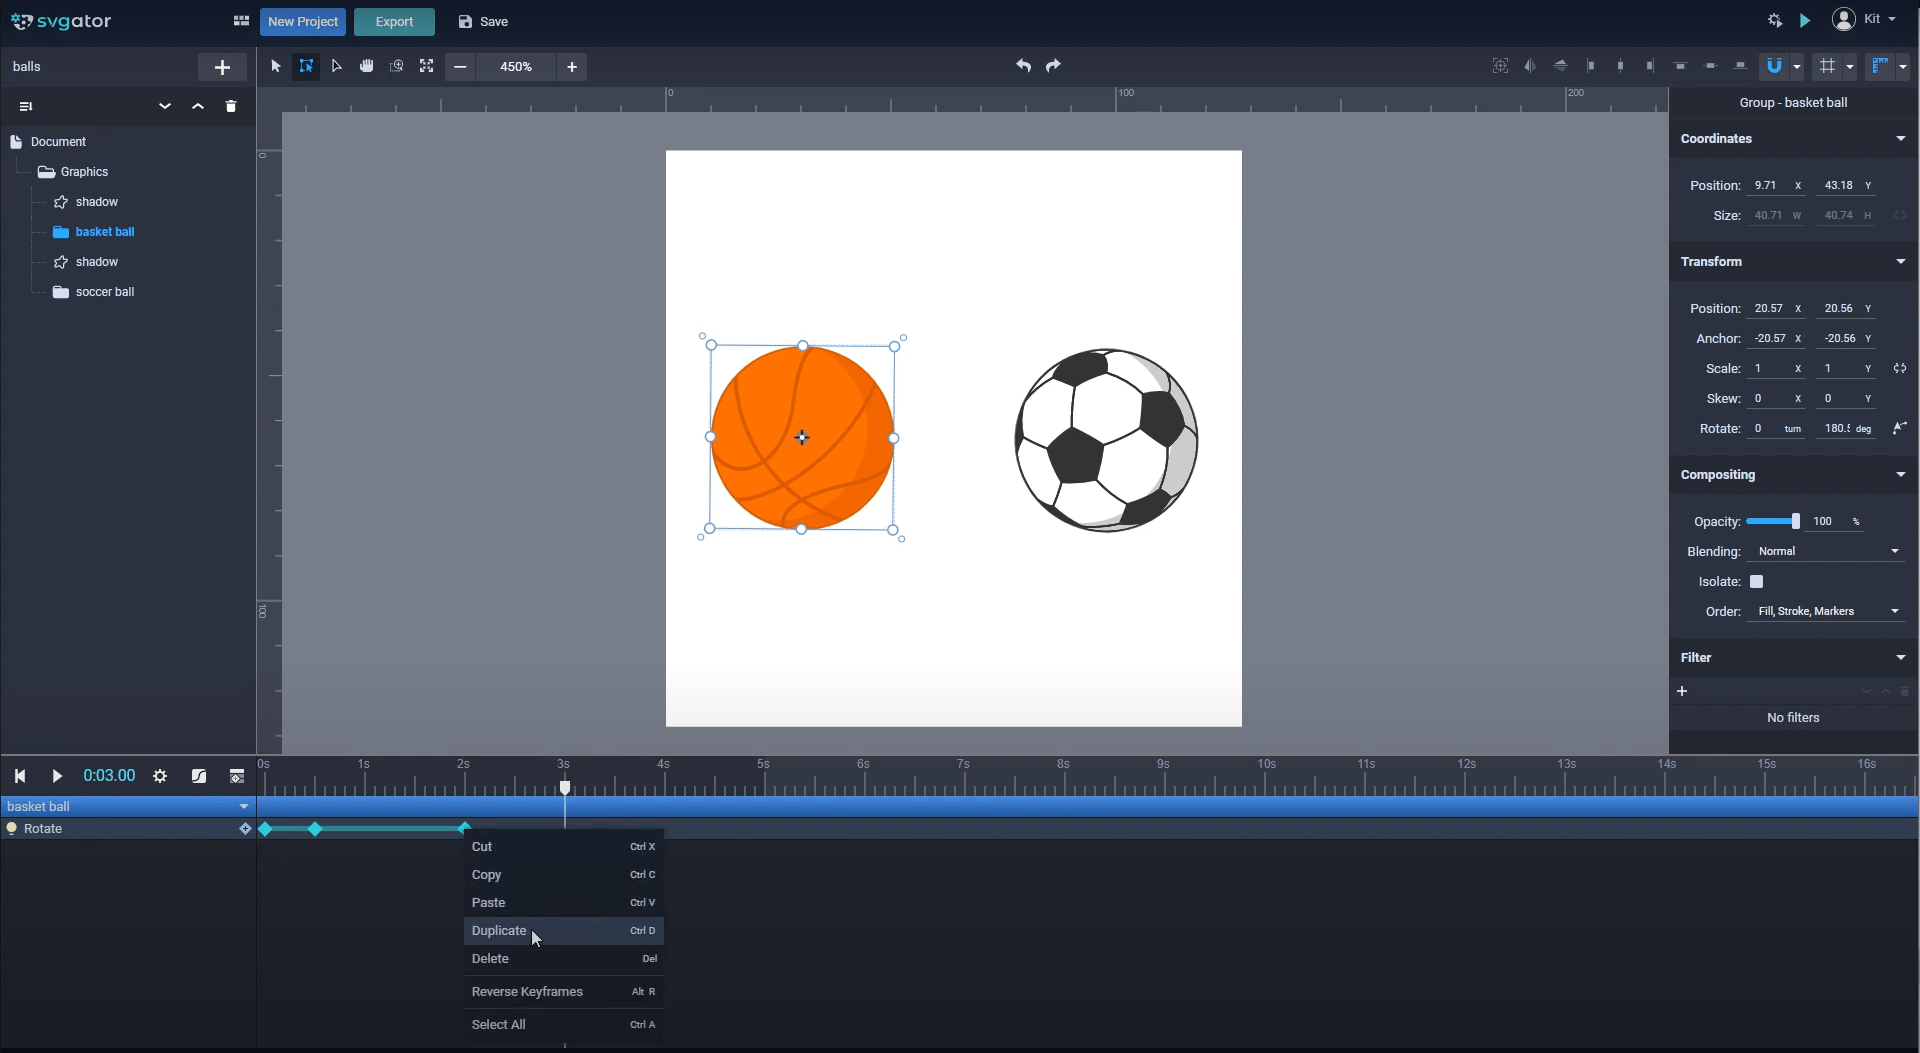
To duplicate keyframes, select the ones you want to duplicate, place the playhead where the first keyframe of the selection should copy, then right click and Duplicate.
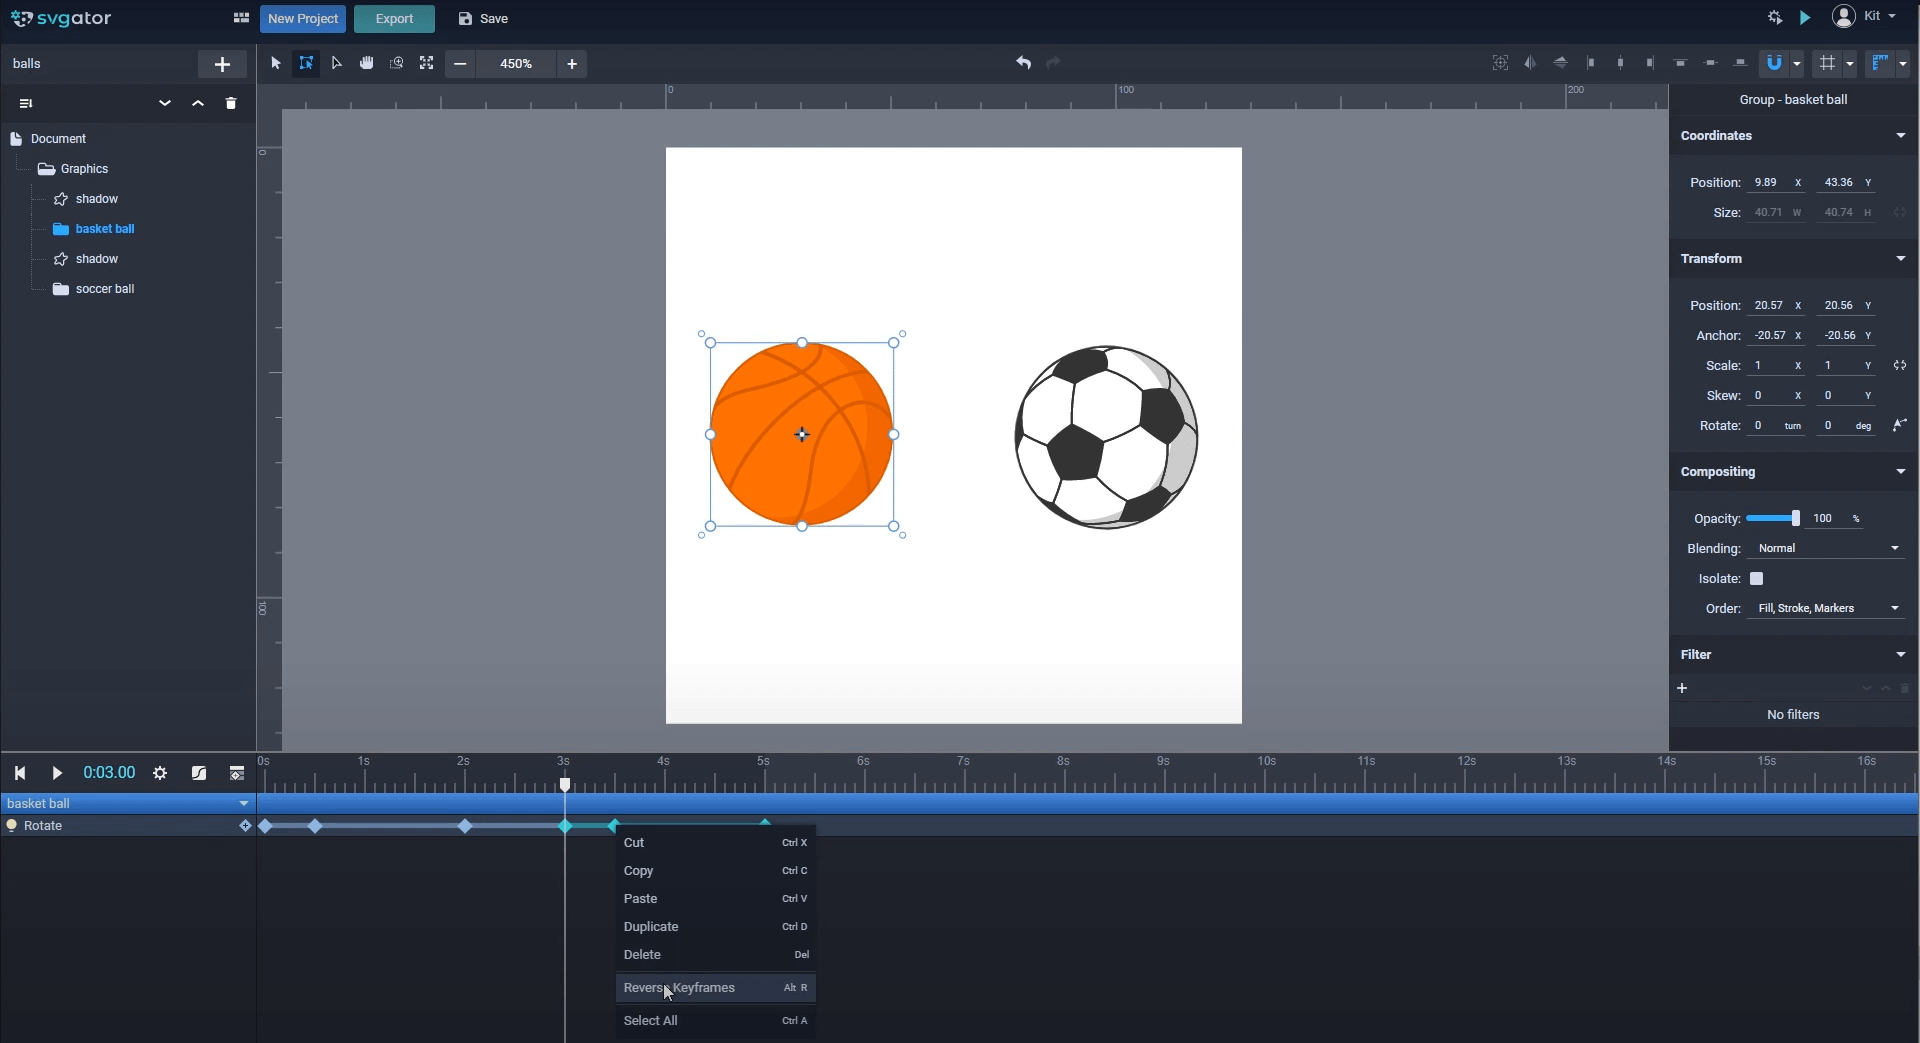
You can also reverse the position of the keyframes: right click and Reverse keyframes.
To delete keyframes simply use your Delete key on your keyboard or use the Delete option from the right-click menu.
Keyframes from one animator can be copied to other elements too. Select the second ball and add the Rotate animator to it:
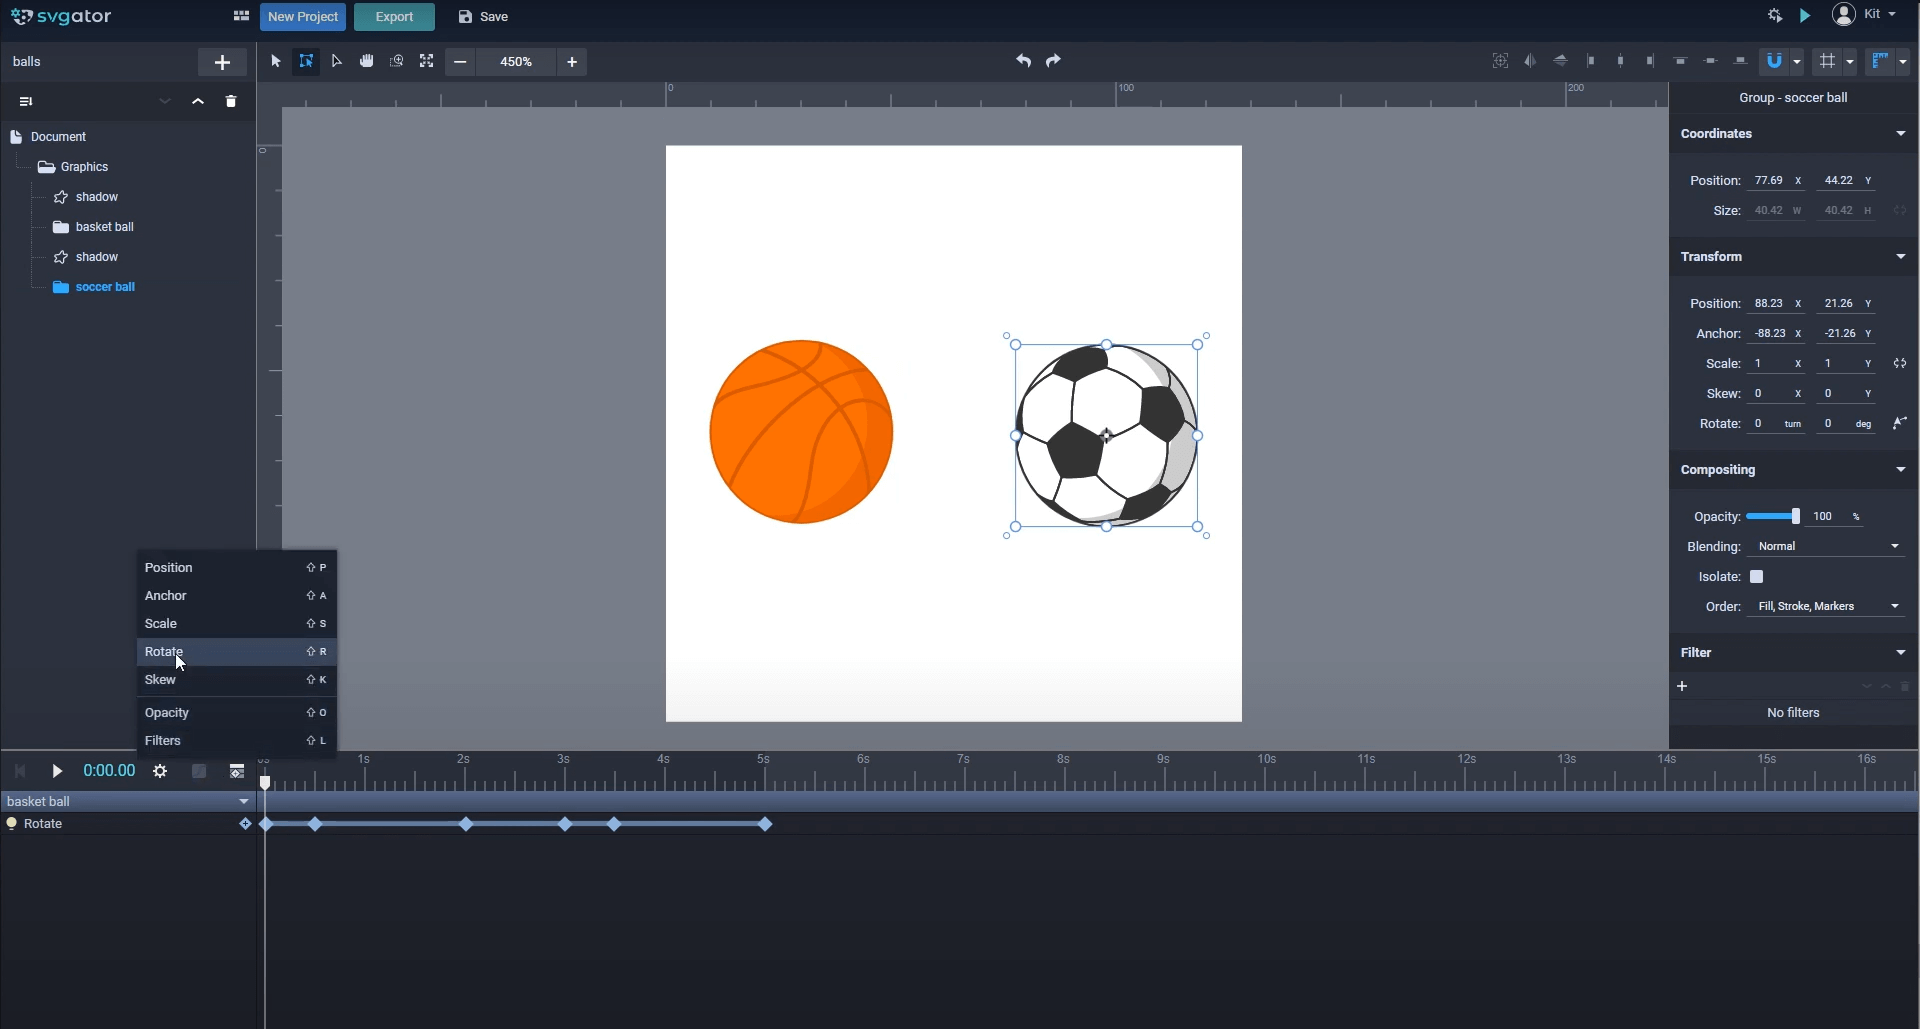
In this case I will copy all the keyframes from the first ball by clicking the animator: right click and Copy, then selecting the rotate animator of the second ball and right click and Paste.
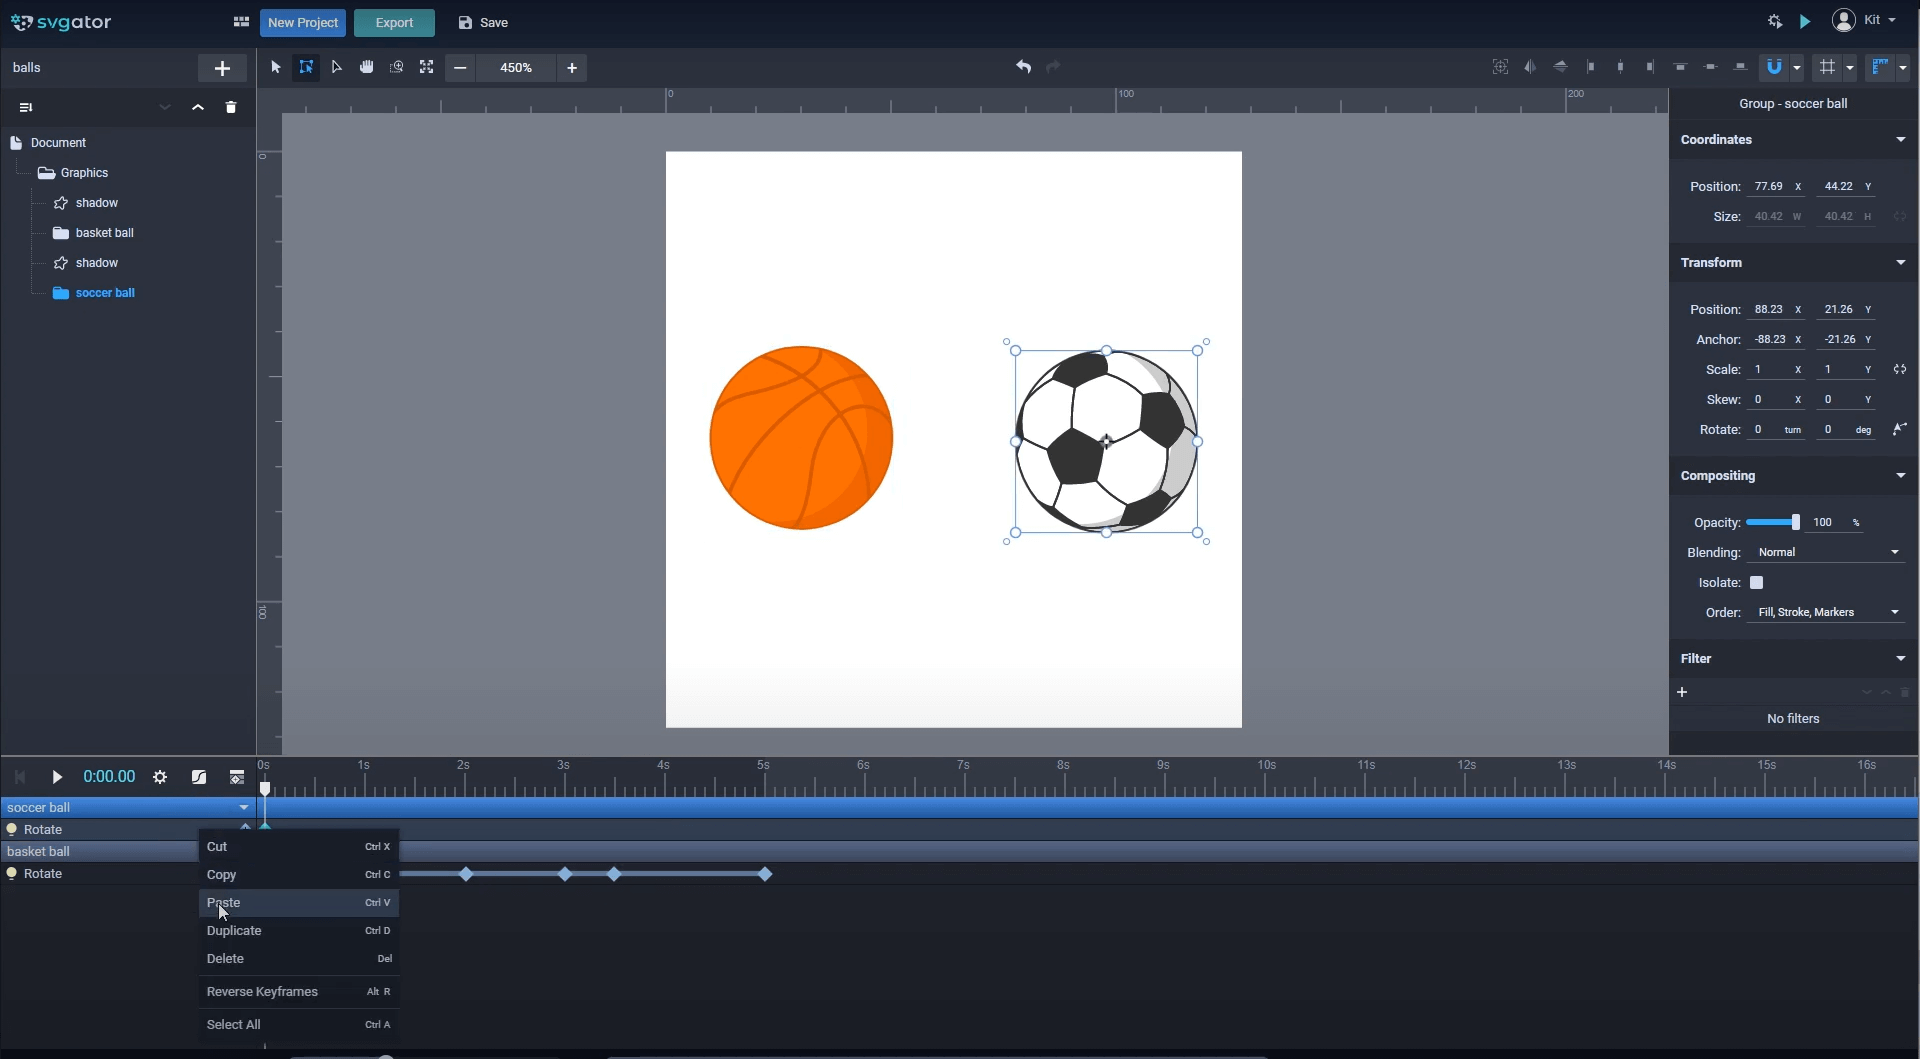
If you drag a keyframe over an existing one it will automatically replace it.
Still got questions about our animation tool? Send us an email to contact@svgator.com and we will get back to you as soon as we can.