How to Create a Convincing Bounce Animation - Part 2
Duration: 26:01
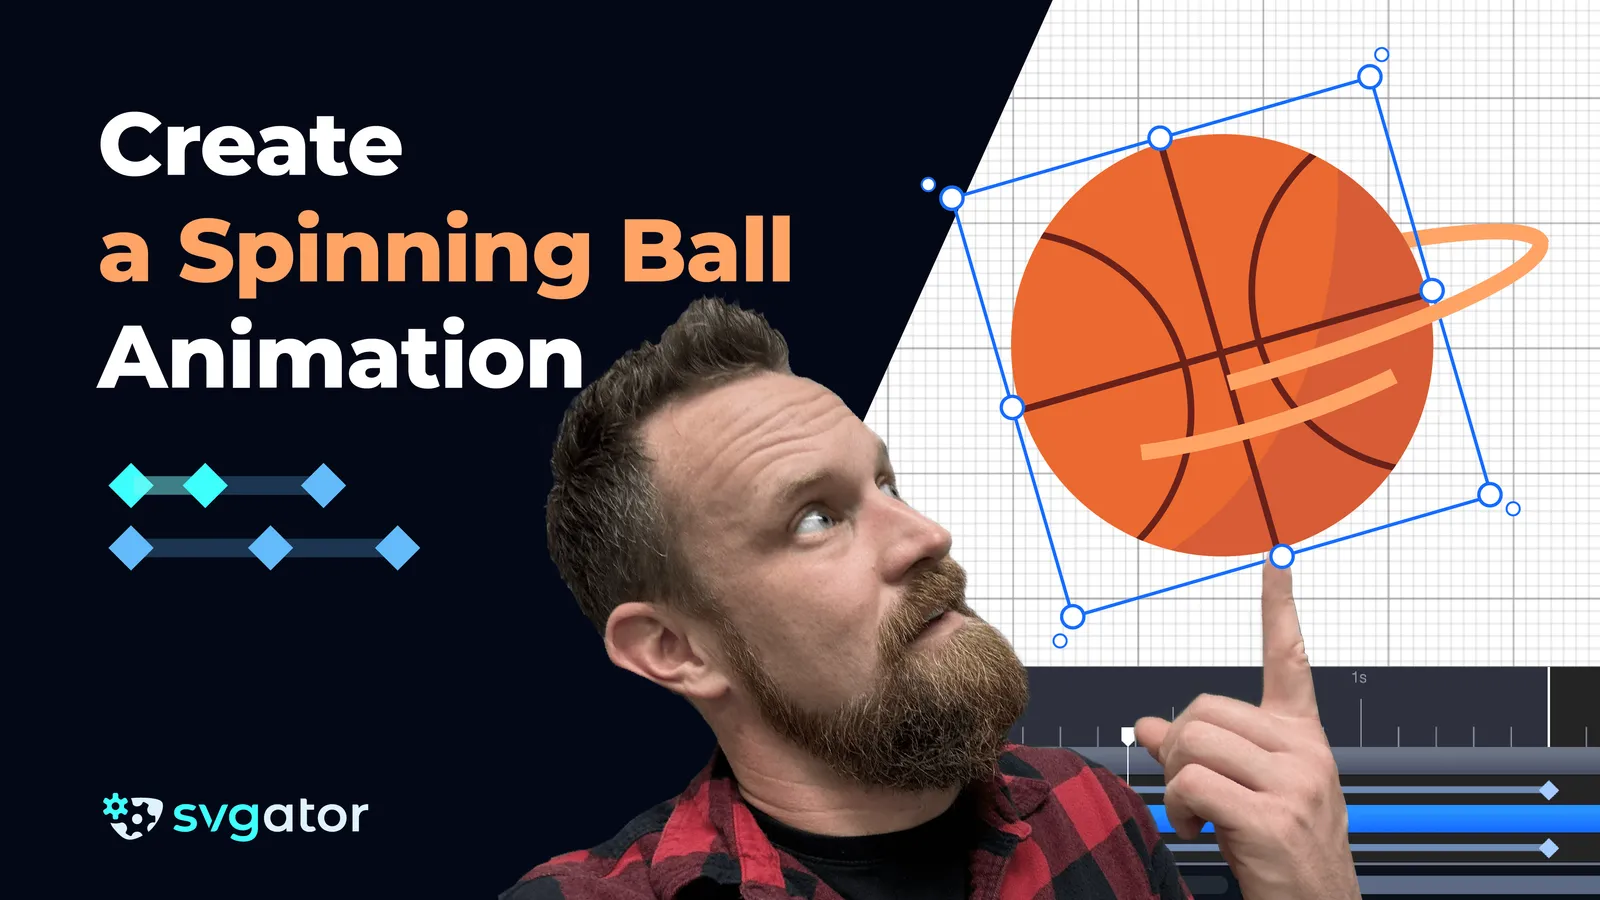
In this tutorial, you can learn how to create a convincing bounce animation.
Step 1: Expanding the Animation Timeline
Extend the animation timeline to 4 seconds to allow enough space for the ball to fall, bounce multiple times, and roll out of the scene smoothly.
Step 2: Creating the Motion Path
Start by positioning the ball outside the frame so that it can drop into the scene. Next, use the Pen Tool to create a motion path that guides the ball’s trajectory. Mark key points where the ball will land for each bounce, ensuring that each bounce becomes progressively smaller and closer together as the energy dissipates. The final part of the motion path should be curved, allowing the ball to roll out of the frame in a smooth arc.
Step 3: Refining the Path for Natural Arcs
The path you’ve drawn may initially be too linear, so it’s time to refine it. Using the Node Tool, select all the bounce points except the last one and enable disconnected handles. Adjust the handles to form smooth arcs for each bounce. The first bounce should be the highest and travel the furthest, with each subsequent bounce becoming smaller and closer together. This creates a natural sense of diminishing energy.
Step 4: Attaching the Ball to the Motion Path
Now that the motion path is set, select the ball and use the "Set Motion Path" function to attach it to the drawn trajectory. Set the duration of the animation to match the full four seconds. The ball will now move along the path, but you’ll need to adjust the keyframe spacing. Move the keyframes to reflect more natural bounce timing, with the downward motion being fast, the peak slow, and the bounces progressively shortening.
Step 5: Adding Squash and Stretch for Realism
To make the animation feel more dynamic, add squash and stretch effects. As the ball falls, stretch it slightly vertically to emphasize the downward momentum. Upon hitting the ground, duplicate the keyframe to hold the position momentarily, then squash the ball horizontally while keeping its volume consistent. After this, stretch the ball again as it rebounds, gradually returning to its original shape at the peak. Repeat this process for each bounce, with the squash and stretch becoming more subtle over time to reflect the decreasing energy.
Step 6: Adding Rotation for Extra Realism
To further enhance the realism, rotate the ball slightly as it moves. Each bounce should cause the ball to rotate in the direction of its motion. As the ball slows down, reduce the amount of rotation to match the diminishing energy. When the ball begins to roll, increase the spin to match the horizontal movement.
Step 7: Applying Easing for Natural Motion
Easing is crucial for making the motion feel smooth and natural. Apply Ease-In Cubic to the downward motion so the ball accelerates as it falls. For the upward motion, use Ease-Out Cubic to simulate deceleration as the ball slows down. Apply an Ease-In curve to the squash and stretch for smoother transitions. Fine-tune the easing graph manually to ensure that the motion flows naturally and feels believable.
Step 8: Polishing and Refining
Once you’ve added easing and squash/stretch, play back the animation to check the flow and timing. Adjust the keyframe spacing, easing curves, and exaggeration to make the bounce feel as natural and realistic as possible. Experiment with additional details like rotation and timing to take the animation even further.
Still have questions? Send us an email to contact@svgator.com and we will get back to you as soon as we can!
Related tutorials to help you out:


