How to Create an SVG Animation With SVGator
Duration: 11:56
In this tutorial you will learn how to animate an element with SVGator and how to select the best export settings for your SVG.
Please note that with SVGator you can now create SVG files from scratch and animate them using the instructions provided in this video, so it’s not necessary to import them from other tools.
You will find a written version of this tutorial below.
To get started go to the IMPORT SVG button. I've already created a few samples for the purpose of this tutorial and I'm gonna start with the SVG folder. Select and open. The project is created.
We can see the project in the My projects section and I'm gonna click Open. The SVG loads into the stage and the canvas size is 300x300 pixels. You can change that by going to the Document properties which is named Layer 1 for this instance. You will find the properties on the right side of the screen:
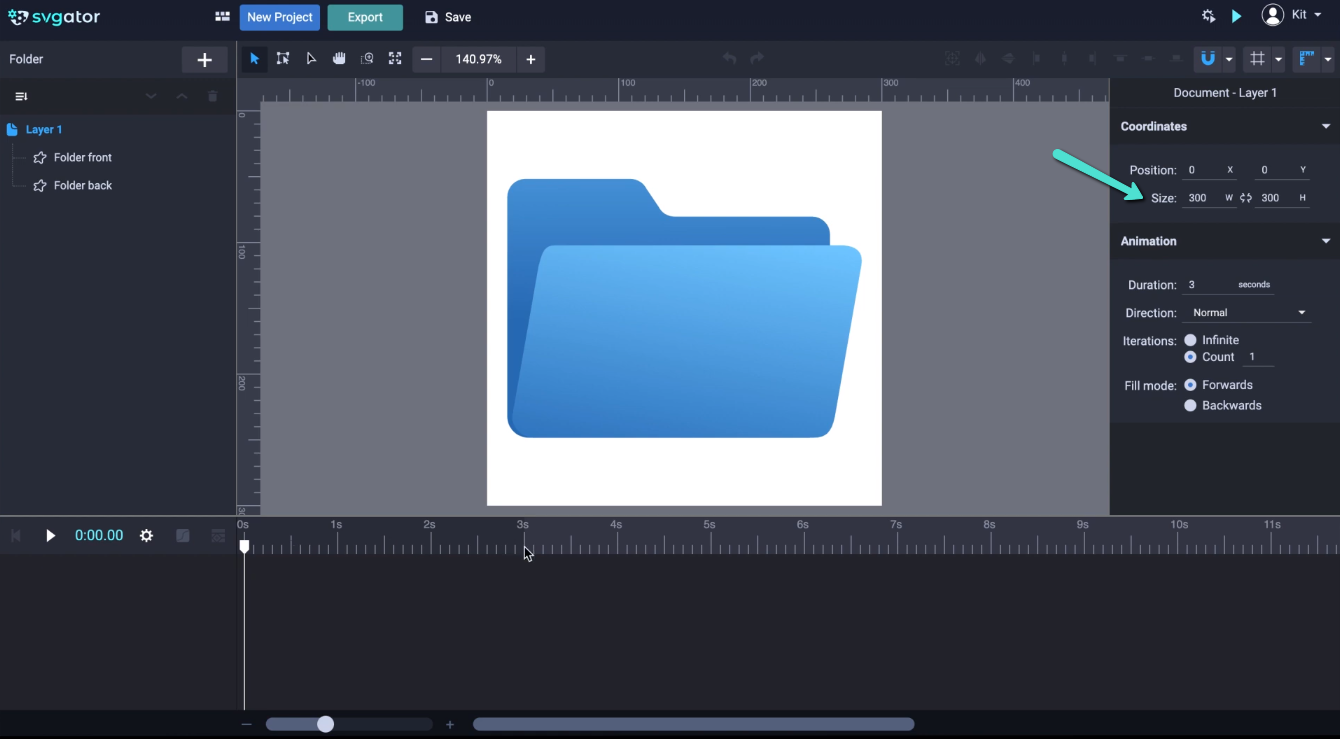
You can change the size, position, and duration of the timeline. The default is 3 seconds. The darker gray area of the timeline ruler indicates the duration of the animation which is 3 seconds. I'm gonna increase the duration up to 5 seconds. I'm gonna leave the size of the canvas at 300x300.
Here are the two elements creating our SVG: folder front and folder back. Every SVG that loads onto the stage will come with the origin point set by default to the top left corner of the canvas. Which should be here. To see the origin point you will have to select the Transform tool:
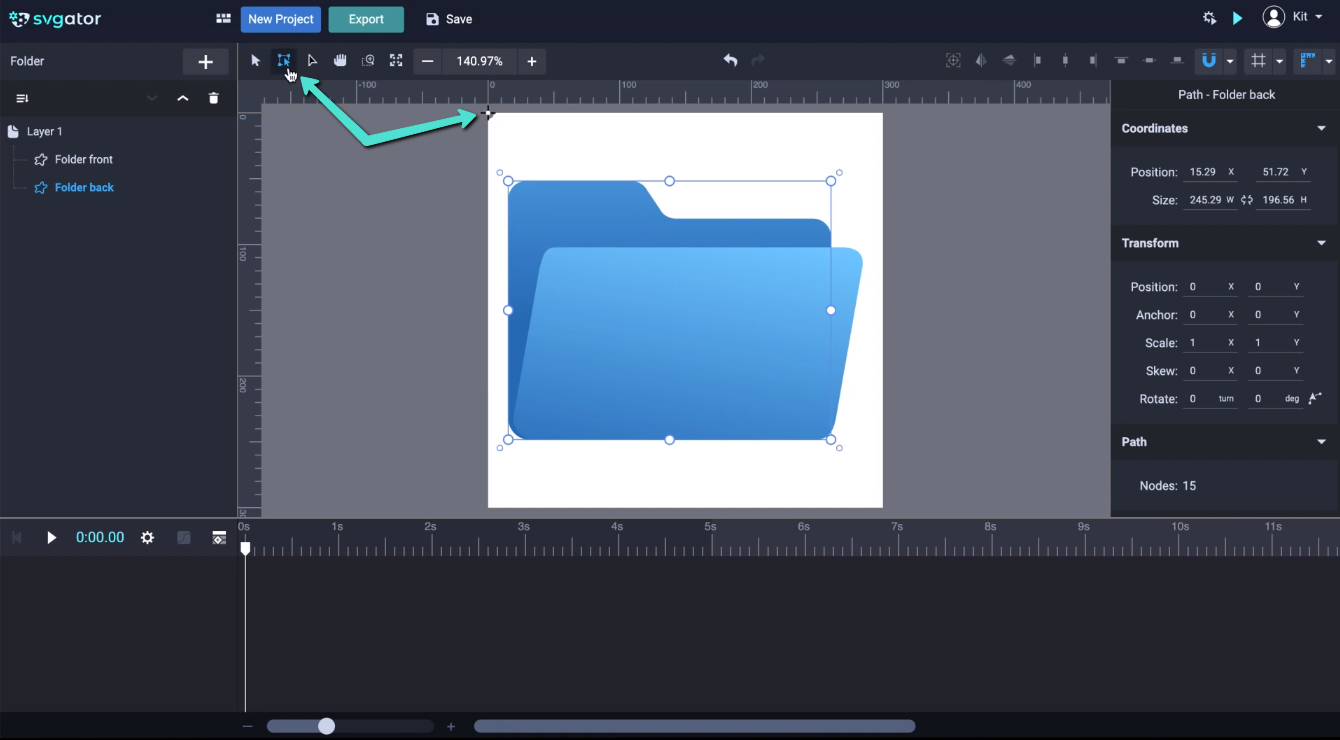
And we can see the origin for the selected element and also for the other element that we can select directly from the stage. You can drag and reposition the origin point in every element or you can automatically center it by clicking on a button in the top-right corner.
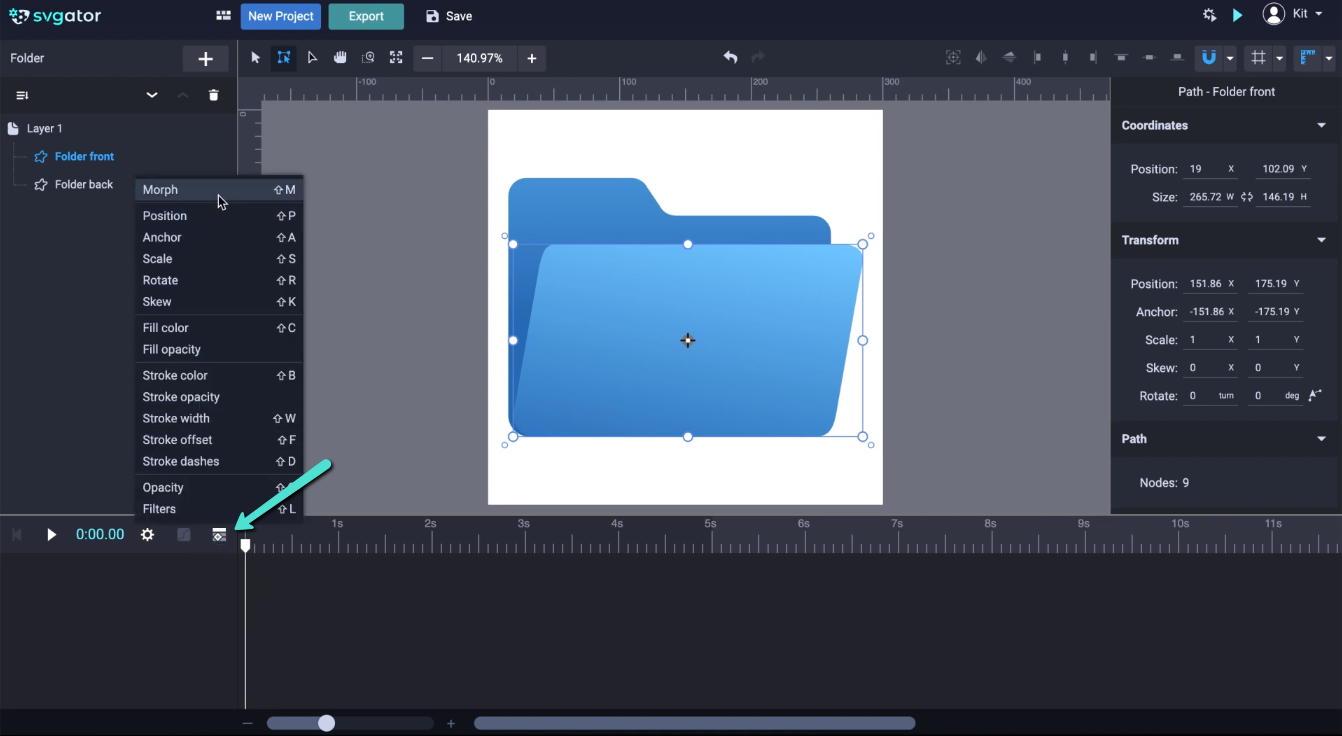
The animators are available here if you click on this button. You can see we have Morph, Position, Fill color, Fill opacity:
To animate the whole folder we have to create a group. Select one of the elements and hold down cmd or ctrl. If you are using Windows is ctrl and for macOS is cmd. Select all elements, then right-click and select Group, or you can use the shortcut cmd+G or ctrl+G. And we've made a group. The origin for the group is also set as default in the top left corner of the canvas. Let's center it and let's rename the group by double-clicking the name. Let's call it Folder.
To start animating select the folder and go back to the animators. Now you may notice that there are fewer animators to choose from for groups:
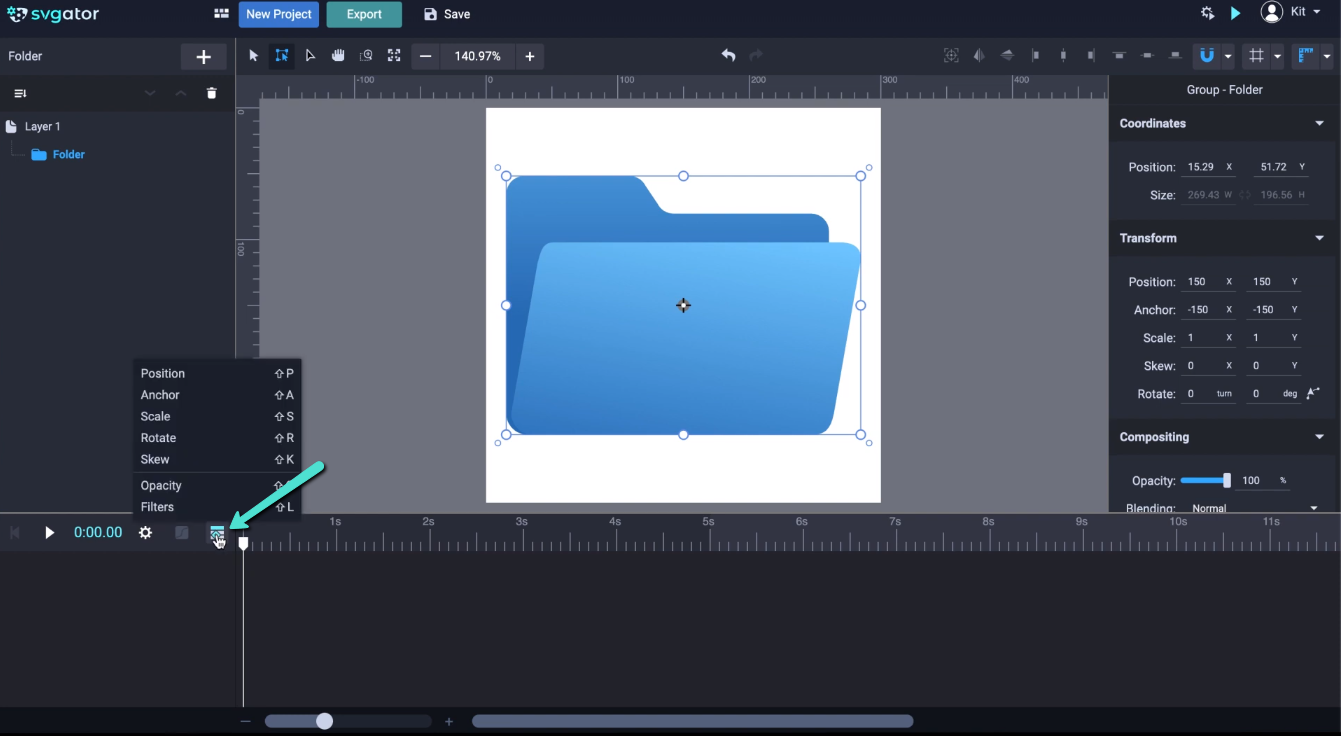
Animators like Morph, for example, can't be added to a group element. That's ok here though. Let's start with Scale. This will add the folder and the Scale animator to the timeline and will add the first keyframe at the position of the playhead:
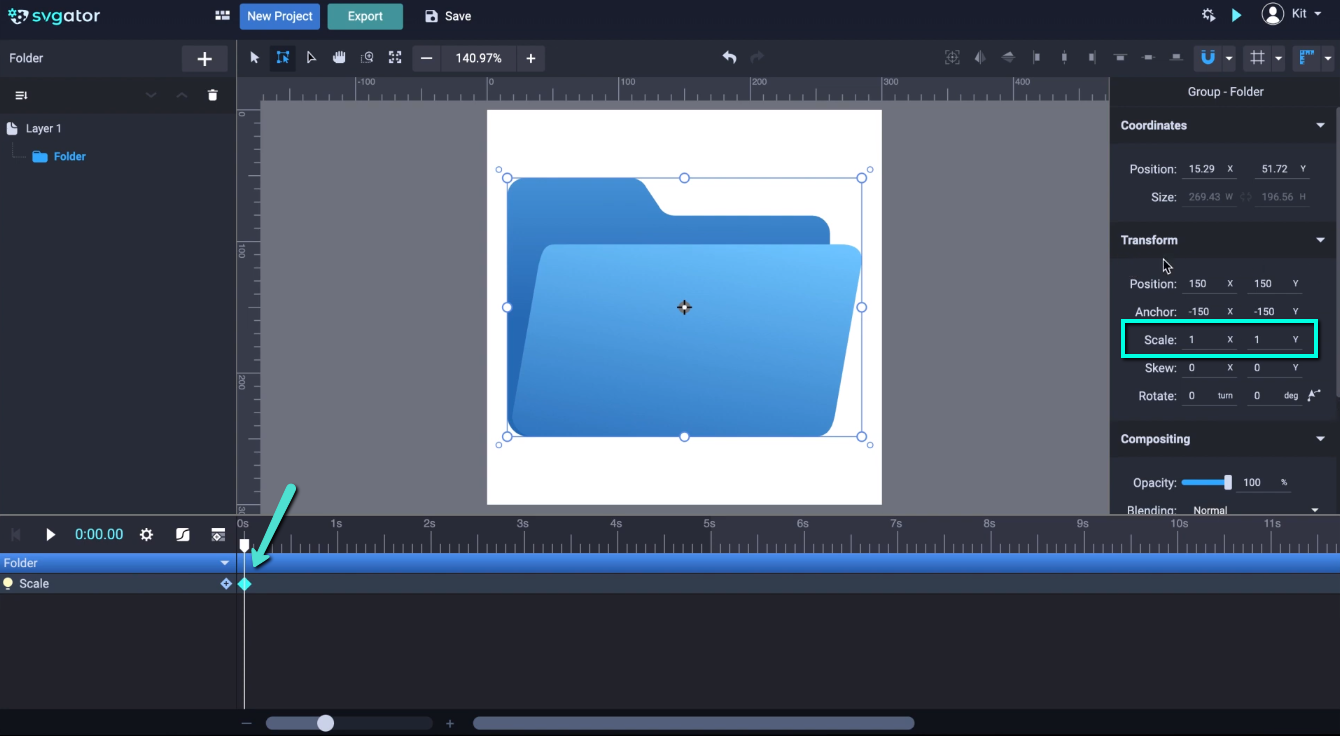
Let's scale down the folder and for that make sure you’ve had the Transform tool selected which is responsible for all the properties here in this transform panel. And by dragging it, hold Shift before clicking it and continue to hold shift down while dragging to scale the folder. To set a more precise value you can use the inputs from each animator. In this case from scale. For scale, I want to scale it down to 0.5, this will mean 50%. 0.5 again, that's 50%, and we scale down the folder.
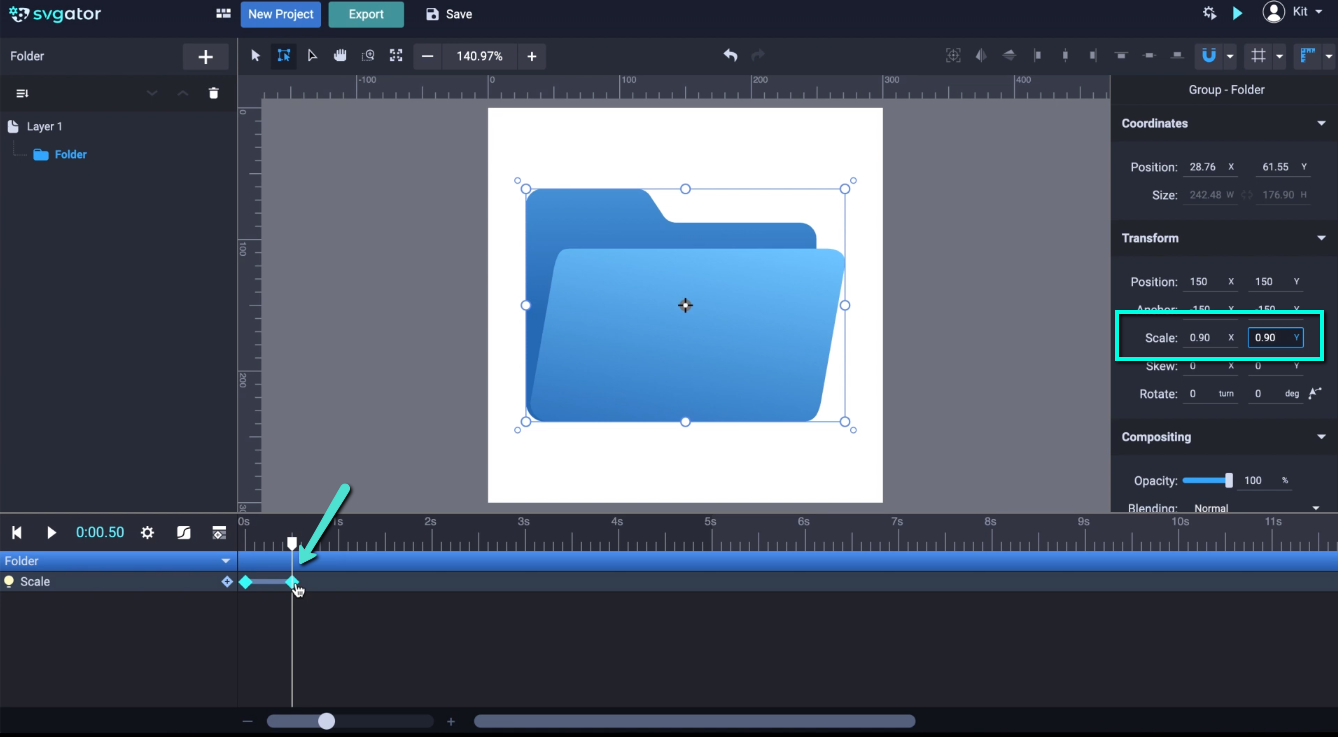
Let's drag the playhead to half a second here and scale up a little. Let's go 90% that will mean 0.9, 0.9 and the second keyframe will be added in the timeline. Let's jump back to 0 and press play to see the animation so far:
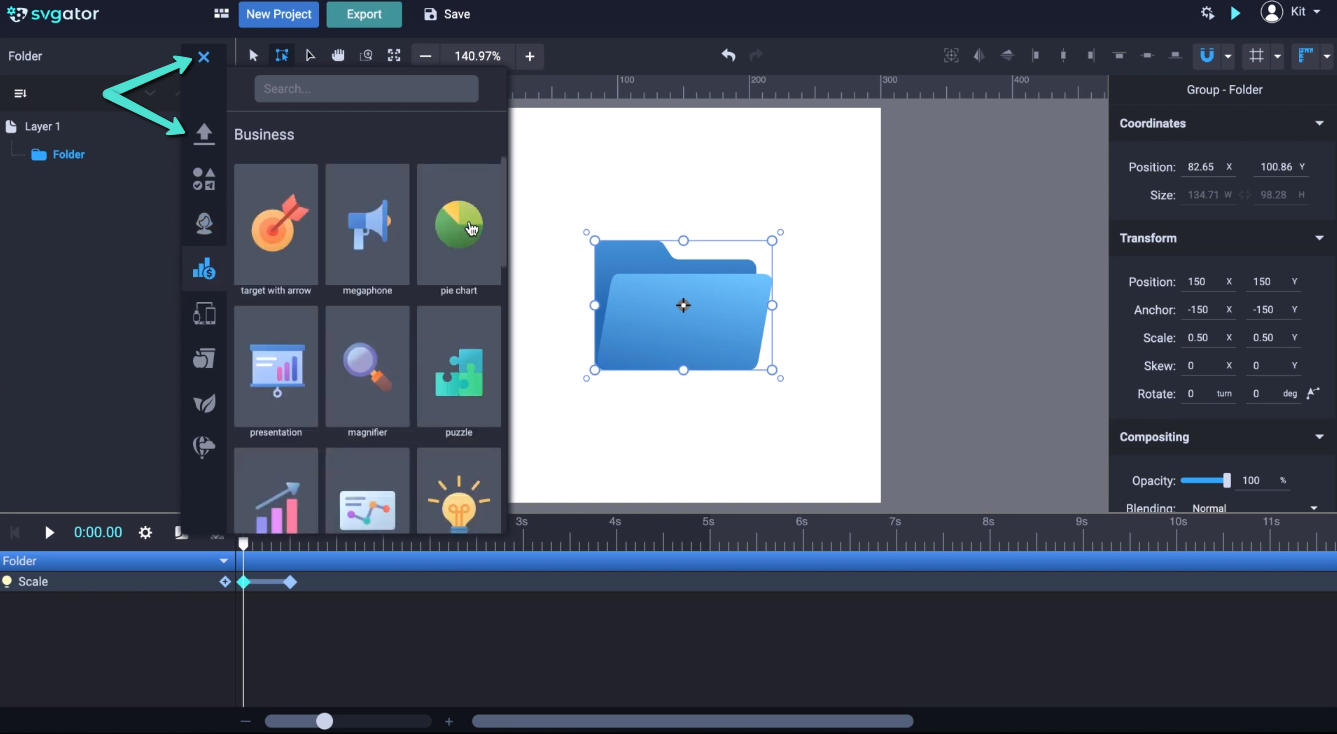
To add more elements to your project, you can use the Library, which you can open from this button over here. You can upload new items from your computer or you can use some of the elements already made basic shapes, avatars, business icons, devices, and so on.
For this example, I'm going back to the My Uploads section and gonna click on Upload New. I'm gonna choose another icon, let’s say the pencil icon, and click Open. It loads into the My uploads section, click on it to add it to the stage. As I've said before we have to center the origin. We can open the group to see what's going on here. We have a pencil group and the rectangle which is in the back. Let's close the group:
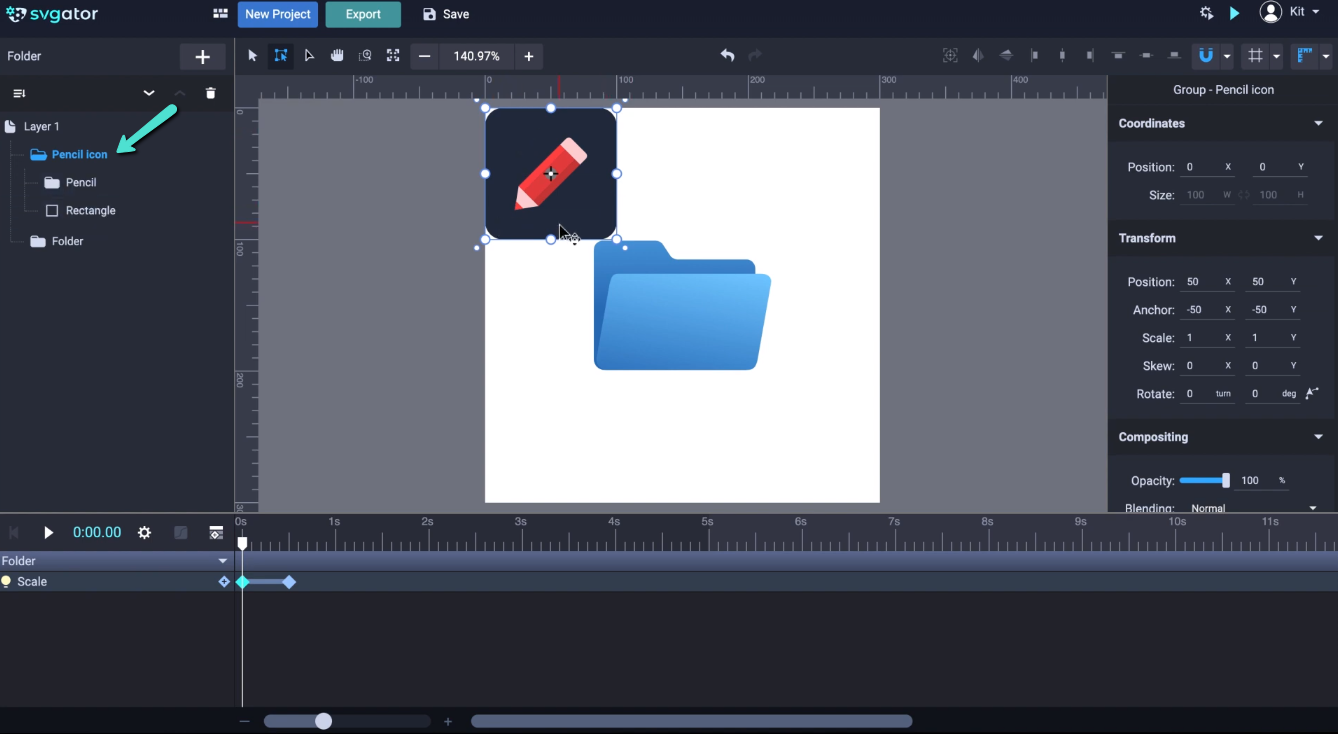
What I want to do now is make the pencil icon come up from within the folder. But for now, we have it above the folder. What we are going to do is select the group and use these arrows to rearrange it in the elements' list, or we can drag it directly above the elements that were included in the folder. If you go to the left and drag it above these dotted lines it will place it down and then you can rearrange it. Now we've sent it back as you can see is all the way behind the folder.
What we want is to place it between the front part of the folder and the back part of the folder. For that, I'm gonna click and hold and drag it up in the folder. Let's place it right between folder front and folder back. And now we have it here. Let's place it right here to hide it behind the front element:
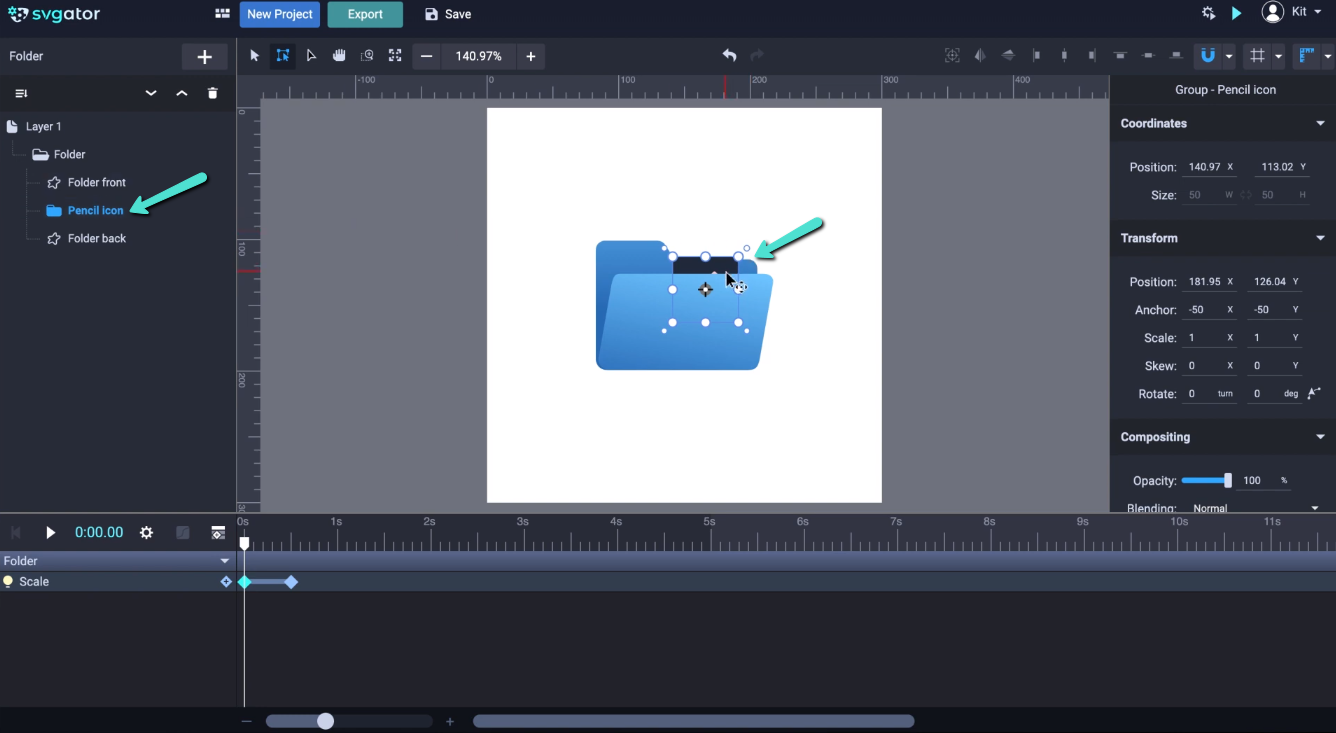
Right about here let's drag the folder here before it completes its scaling. I want to make this icon pop up from this folder, and for that, I'm going to choose a Position animator. The first keyframe will be set at the position of the playhead. I'm going to drag it to 1 second or maybe a little more and drag it to pop out here. You can see this dashed line that will indicate the path of the position:
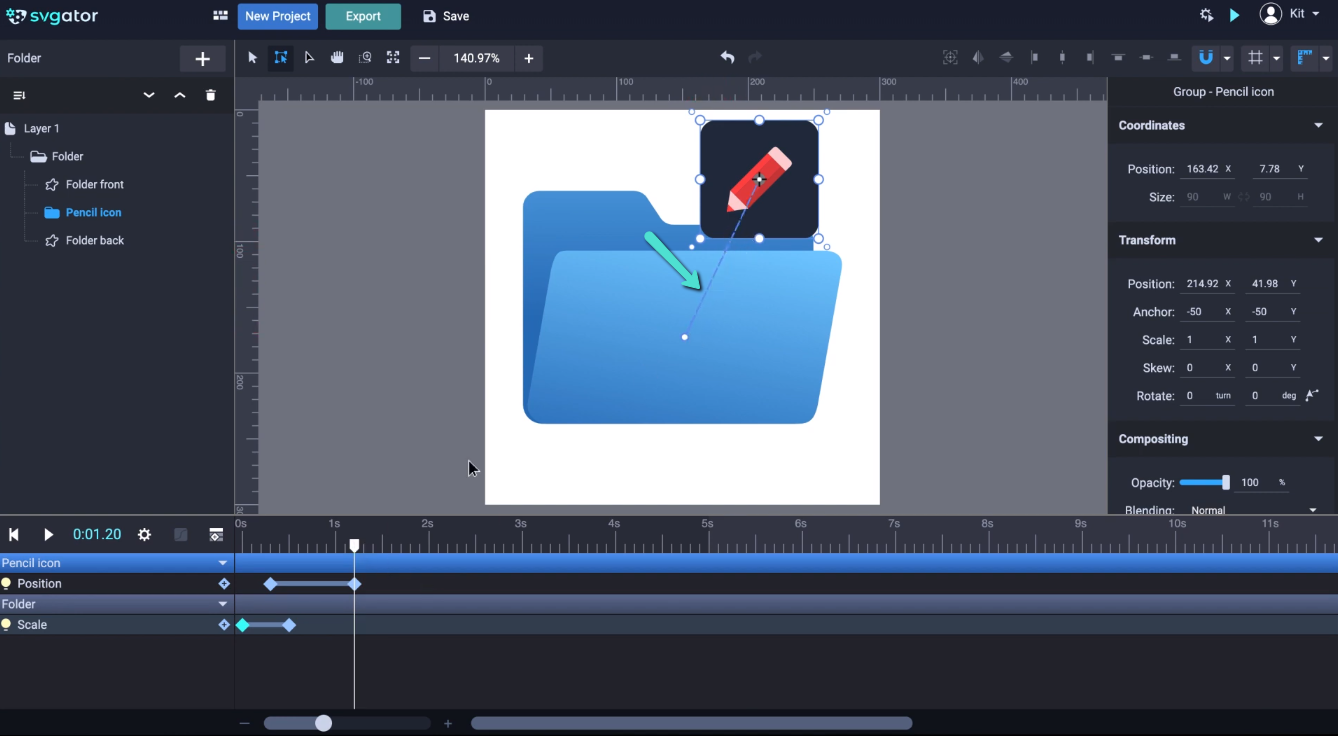
Let's play it once through to see it. Just jump back to zero and we can bend this path to curve it a little and adjust it to make the position a little more dynamic. It will follow the path we've just created. We can make it look like an S trajectory or we can simply leave it like this:
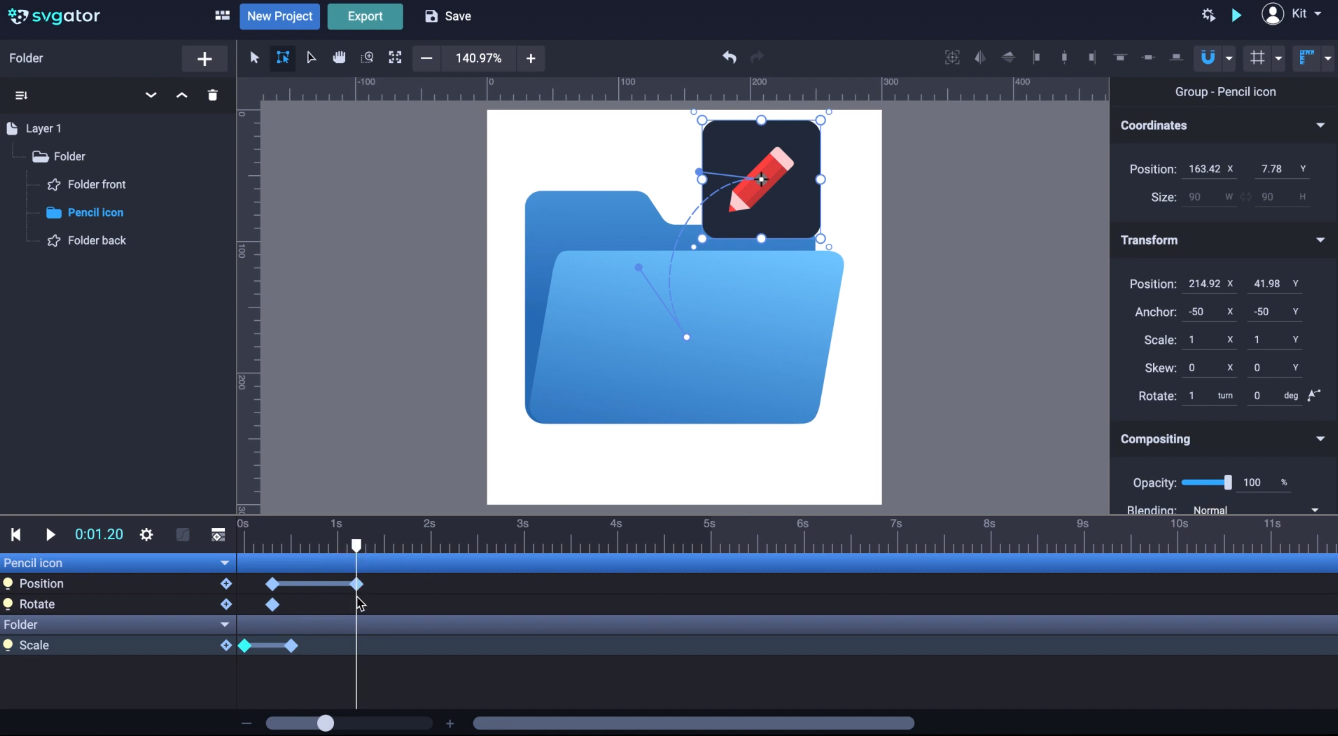
Let's also add a little rotation to this icon that's popping out. For that let's place the playhead where we want the rotation to start. With the pencil icon selected open the animators' list and add Rotate. Now for the first keyframe, we have to rotate it a little, and for that, we can choose this input. If we type in 360 degrees, that will mean one turn. Right here for the second keyframe let's put it back to 0. That means it will rotate 360 degrees while moving on this path direction. Let's check our animation.
You can preview your animation by clicking on this button here for a preview. Before previewing you can choose a bunch of export options here:
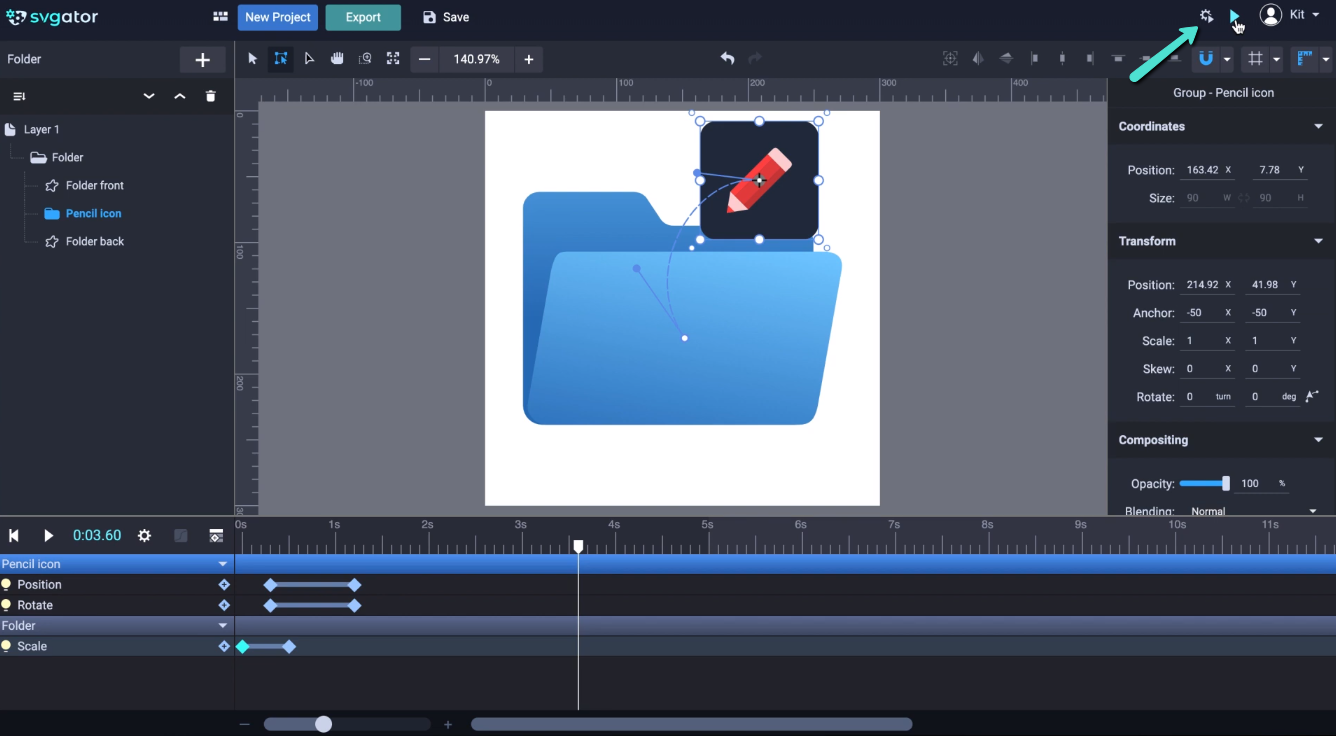
The animation can start On load or On mouseover, which means the animation will start whenever you roll over the SVG with your mouse, or on click. Let's choose on click for this instance:
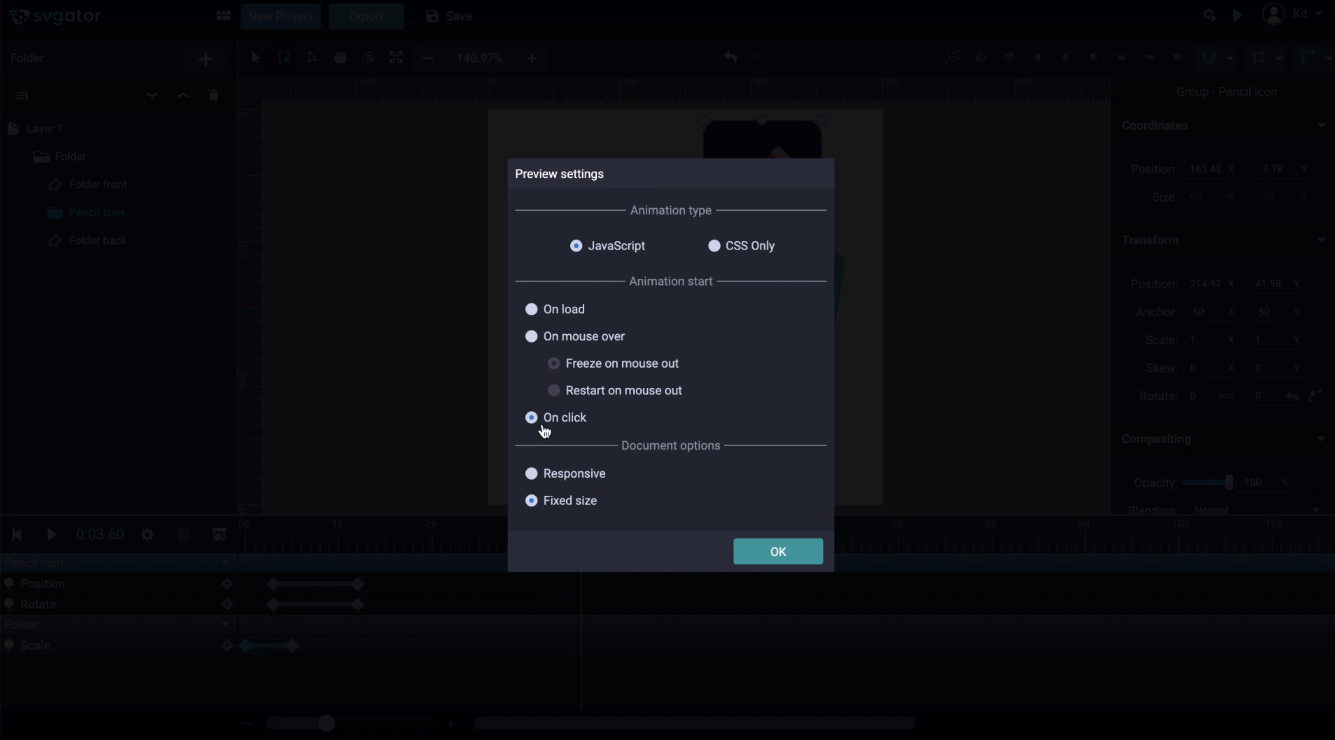
We can leave it on Javascript. Javascript will support more advanced animations. You can choose between Javascript or CSS. The difference is that CSS doesn't support all animators or as javascript does. So JavaScript will allow you to use more advanced techniques on your animation. Let's click ok and let's preview it again. The animation doesn't start because I set it to be on click. Let's rollover and click, and the animation begins.
Let's save our progress so far by clicking Save. And let's check it on the My Projects section. The animation is saved here. To organize your projects you can create labels. I already have a label here for those two projects, but you can add a new label, let's call it Icons and pick a color for it. I like green for this one. And click Save. We can go back to All projects, click on this button, and Edit to edit the Folder project:
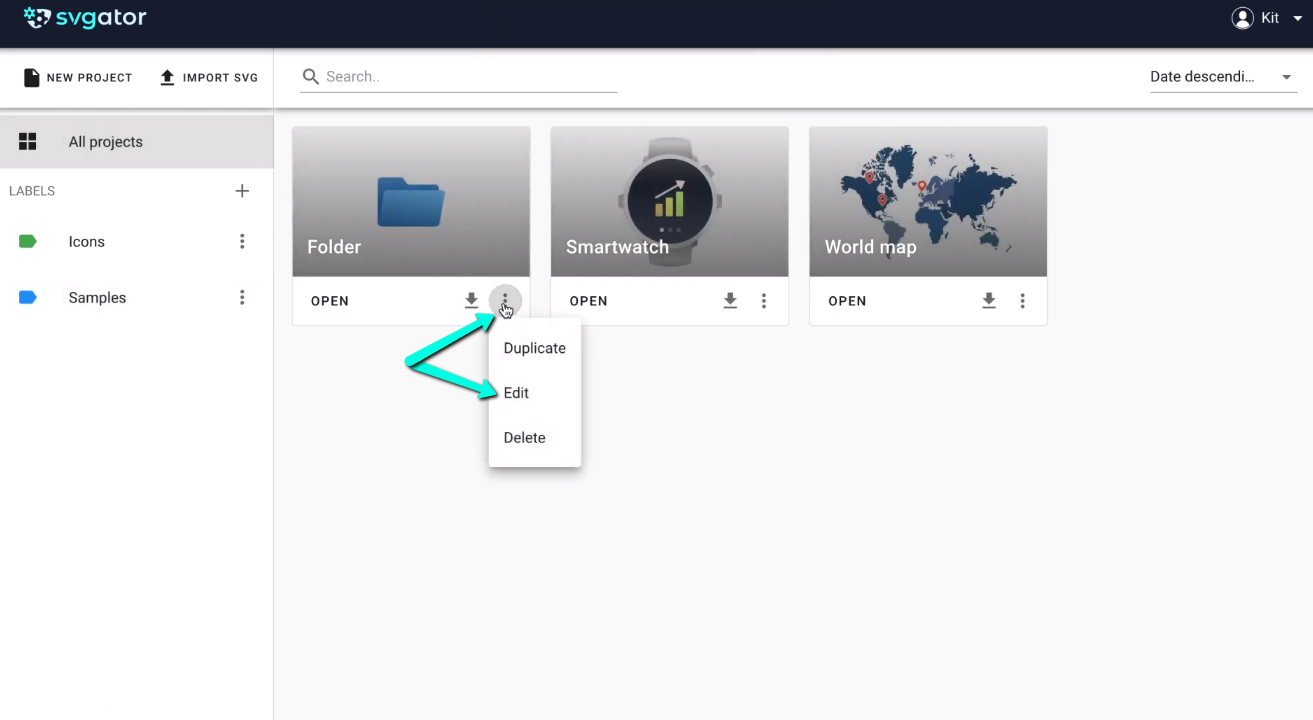
You can rename it here or assign it to a label. I'm going to click on Icons, the label we just created, and click Save. Now we can have a more organized Projects by using the Icons label or the Samples label.
I hope you enjoyed this video and see you in the next one. Thanks for watching!
Still got questions? Send us an email to contact@svgator.com and we will get back to you as soon as we can.