Using the Assets Library
Use an Existing Element from the Library
In some cases, after you've already spent time working on your animation, you might want to add a new element to your project. Because we wouldn't want you to start the whole animation from scratch, we've added a new feature to our vector animation software. The Assets Library feature will make updating your existing projects with new elements very easy!
You will find the the Assets Library here:
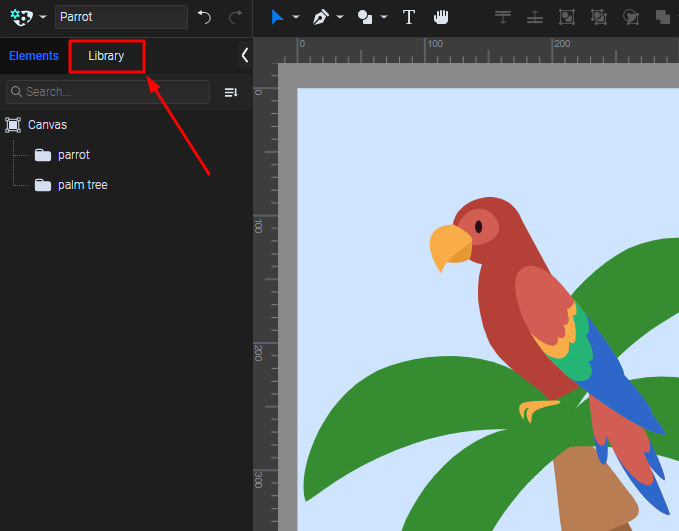
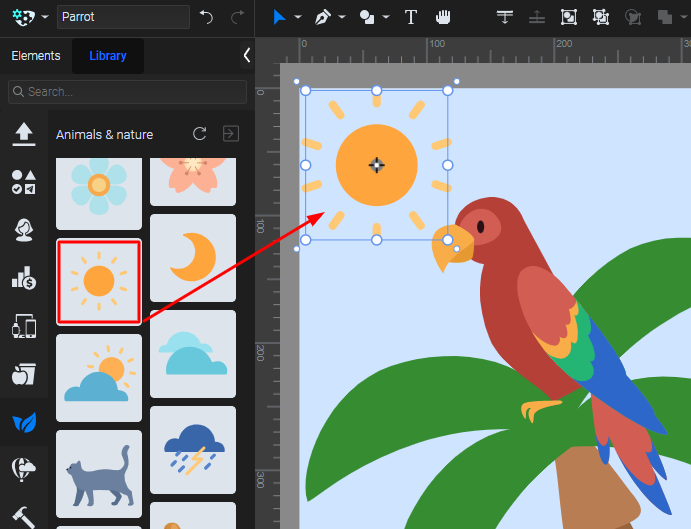
You can browse in the categories or you can click on the Upload new button to select something from your device. To add a new element, simply click on the element in the Library section and it will show up on the canvas:
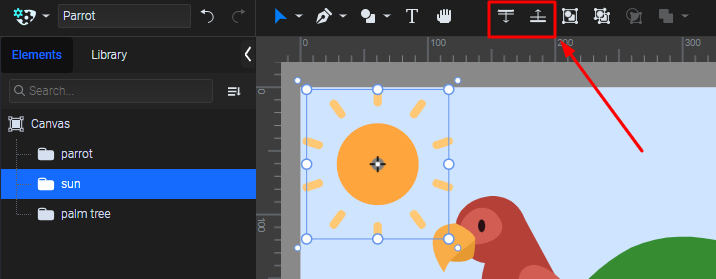
After you've added it to the canvas, you can move it with the Select tool. You can also change the layers' order in the Elements list, using the Change Order icon from the top left bar.
How to Add a New Element to the Library
Create and Save Your Element:
First, create and animate a new element. Select it using the Transform tool, then click on the Save to Library button on the right-hand side. Your element was saved to your Assets Library with the animation included.
Add a new element from your computer: Go to the Library section on the left, click on the “+” sign, then select the desired file from the pop-up window.
Keeping your Library organized is just as important as filling it with useful elements. You can also delete elements you no longer need. Access the Library, click on the element you wish to remove, then click the Trash icon. This will permanently remove the element from your Library, helping you maintain a clutter-free workspace.

Please note that you can't delete elements from the categories, just what you've uploaded into the Assets Library section from your device.
More articles:
Still got questions? Send us an email to contact@svgator.com and we will get back to you as soon as we can.
